How to Make Anionic Soap at Home for Beginners?
Creating Anionic Soap at home is an enjoyable and creative process. This type of soap is known for its excellent cleaning properties. It's widely used in various personal care products and household cleaners. Making Anionic Soap can be a rewarding experience for beginners. It allows you to control ingredients and customize scents.
When starting, gather your materials carefully. You'll need oils, lye, and water, among other items. Following safety precautions is crucial. After all, lye can be dangerous if handled improperly. Beginners may find it overwhelming at first, but with practice, it becomes easier.
Consider experimenting with different oils to see their effects. Each oil gives unique qualities to your soap. Mistakes may occur, leading to unexpected textures or scents. These challenges provide valuable lessons. Don't be discouraged; learning through trial and error is part of the journey. Embrace the process, and enjoy making your own Anionic Soap.
Understanding Anionic Soap and Its Properties
Anionic soap is a fascinating type of soap, known for its ability to produce rich lather. These soaps are made from anionic surfactants, which carry a negative charge. This property makes them effective at removing dirt and grease. When mixed with water, the soap molecules interact with oils and grime, breaking them down effectively.
Creating anionic soap at home can be a rewarding experience. You will need oils, water, and a base like sodium hydroxide. Carefully measure the ingredients. The reaction should be monitored closely. It is essential to wear gloves and safety goggles. Mistakes can lead to unexpected results. Sometimes the soap may not lather as expected.
Observe the texture and consistency as you mix. The final product might be a little different from what you envisioned. It’s part of the learning process. Experimenting with different oils can yield unique properties. Each attempt teaches you more about the science behind soap-making. Embrace imperfection, and appreciate the journey of creating your homemade anionic soap.
Essential Ingredients for Making Anionic Soap at Home
Making anionic soap at home can be quite simple with the right ingredients. Key components include a fat source, an alkali, and water. Common fats include oils like coconut or olive, each adding unique properties to the soap. The alkali, often sodium hydroxide, is essential for the saponification process. This chemical reaction transforms oils into soap.
Water is another crucial ingredient. Distilled water is best, as it helps to avoid impurities. When mixing, ensure proper measurements to achieve the desired texture and performance. Starting with smaller batches can help you experiment and learn.
Safety is important. Wear gloves and goggles when handling lye. It’s easy to overlook these precautions. Many beginners also struggle with the mixing process. The solution can become too thick or remain lumpy. Therefore, patience is key. Take your time to mix well and monitor the texture closely.
Step-by-Step Process to Create Anionic Soap
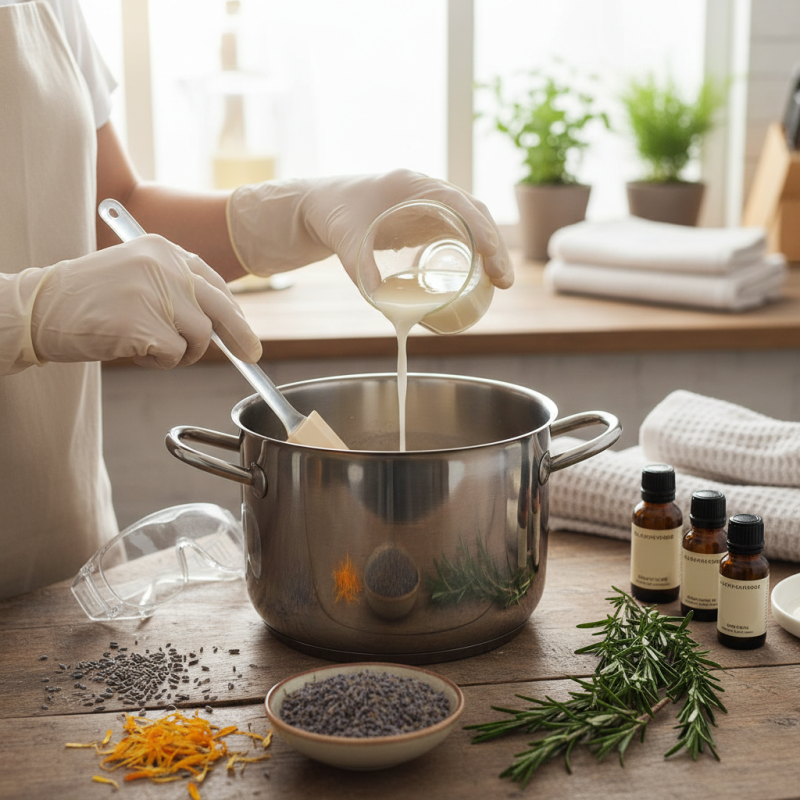
Making anionic soap at home can be a fun and rewarding project. Start by gathering your ingredients: a fatty acid, a strong base, and water. Commonly used fatty acids include coconut oil or olive oil. A strong base, like sodium hydroxide, is essential. Safety equipment, such as gloves and goggles, is also necessary.
In a well-ventilated area, mix the base with water slowly. This process generates heat. Be cautious, as the mixture can become very hot. After cooling, blend in your fatty acid. Stir the mix thoroughly until it begins to thicken. This might take time. It’s okay if the mixture isn’t perfect on your first try; adjustments can always be made.
After reaching the desired consistency, pour the soap into molds. Allow it to cure for at least 24 hours. The soap might look uneven or too soft initially; this is normal. Check on it periodically. Once it hardens, feel free to experiment with scents or colors. With practice, you can refine your technique and create anionic soap that meets your preferences. Enjoy the process and learn from each attempt!
How to Make Anionic Soap at Home for Beginners? - Step-by-Step Process to Create Anionic Soap
| Ingredient |
Quantity |
Purpose |
Notes |
| Sodium Hydroxide (Lye) |
100g |
Saponification agent |
Handle with care, use gloves |
| Distilled Water |
300ml |
Dilution of lye |
Use purified water for best results |
| Coconut Oil |
200g |
Fat source for soap |
Provides lather |
| Olive Oil |
150g |
Fat source for soap |
Adds moisturizing properties |
| Essential Oil (e.g., Lavender) |
50ml |
Fragrance |
Optional, choose scent as desired |
Safety Precautions While Making Soap
Making anionic soap at home can be enjoyable, but safety should always come first. The process involves using strong chemicals like sodium hydroxide. This can be hazardous without proper precautions. According to the American Association of Poison Control Centers, caustic substances cause thousands of injuries every year. Understanding safety measures is crucial.
Always wear protective gear like gloves and goggles. These can protect your skin and eyes from burns. Working in a well-ventilated area is vital. Too many fumes can lead to respiratory issues. Inhaling even a small amount can cause irritation or serious health problems. The National Institute for Occupational Safety and Health emphasizes that safety equipment is not optional when handling such chemicals.
Be aware of your workspace. Keep materials organized to minimize accidents. If spills occur, clean them immediately to avoid slips and injuries. Additionally, ensure that children and pets are kept away. This creates a safer environment. The safety data sheets for sodium hydroxide stress the importance of proper storage and disposal. Safety shouldn’t be an afterthought; it must be ingrained in your soap-making process. Mistakes can lead to unexpected and dangerous situations.
Tips for Customizing and Using Your Anionic Soap
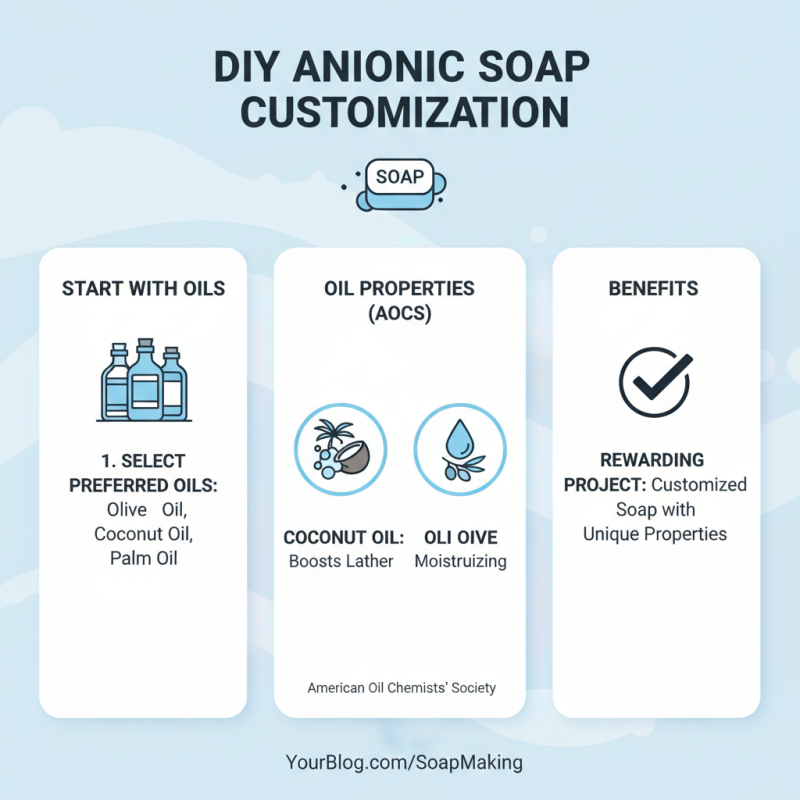
Creating your own anionic soap can be a rewarding project. To customize your soap, start by selecting your preferred oils. Olive oil, coconut oil, and palm oil are excellent choices. According to the American Oil Chemists' Society, oils contribute distinct properties to soap. For instance, coconut oil enhances lather qualities, while olive oil provides moisturizing effects.
Consider adding natural additives like essential oils, herbs, or exfoliants. Lavender essential oil is popular for its calming scent. Studies show that natural fragrances can improve user satisfaction. However, remember that certain oils can irritate sensitive skin. Always perform a patch test when trying new ingredients.
Lastly, the curing process is crucial. Allow your soap to cure for at least four to six weeks. This step is often overlooked by beginners. Inadequate curing can lead to a harsh product. Monitor the soap's texture over time. Adjust your formulation if needed, based on how the soap feels and lathers. Customizing your anionic soap may require trial and error, but each attempt makes you better.